
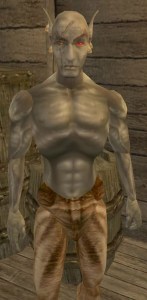
This is Jiub. Jiub is the first person you see in Morrowind. He also has a fairly unique head so it was fitting to use him as my first experiment. Easy to test. This Jiub, being my first attempt, is a little crude compared to the later images. The transition as I refined the style is apparent. So here’s what I did.
Resize
The initial resolution was 256 x 128 pixels. That’s not a lot of room for sharp lines and clarity. Additionally, it’s a good idea to work big and then shrink as needed so I resized the image to 2048 x 1024, keeping the aspect ratio but increasing the size by 8 times. As the fine lines of the borderland style are important, a higher resolution is preferable. (I tested it when done and shrinking down to 512 x 256 looked OK but 1026 x 512 was ideal for size vs detail).
Create layers
I duplicated the image into two additional layers. I do this so I can have a pristine backup, a working copy and high pass copy (if needed). The high pass allows me to see the areas needing outlines more clearly. I don’t always use it but it’s handy if needed. I created a new layer that is transparent to be my actual canvas for the black outlining. Showing but underneath the active layer would be the working copy or the highpass copy to use as the base reference.
Outline

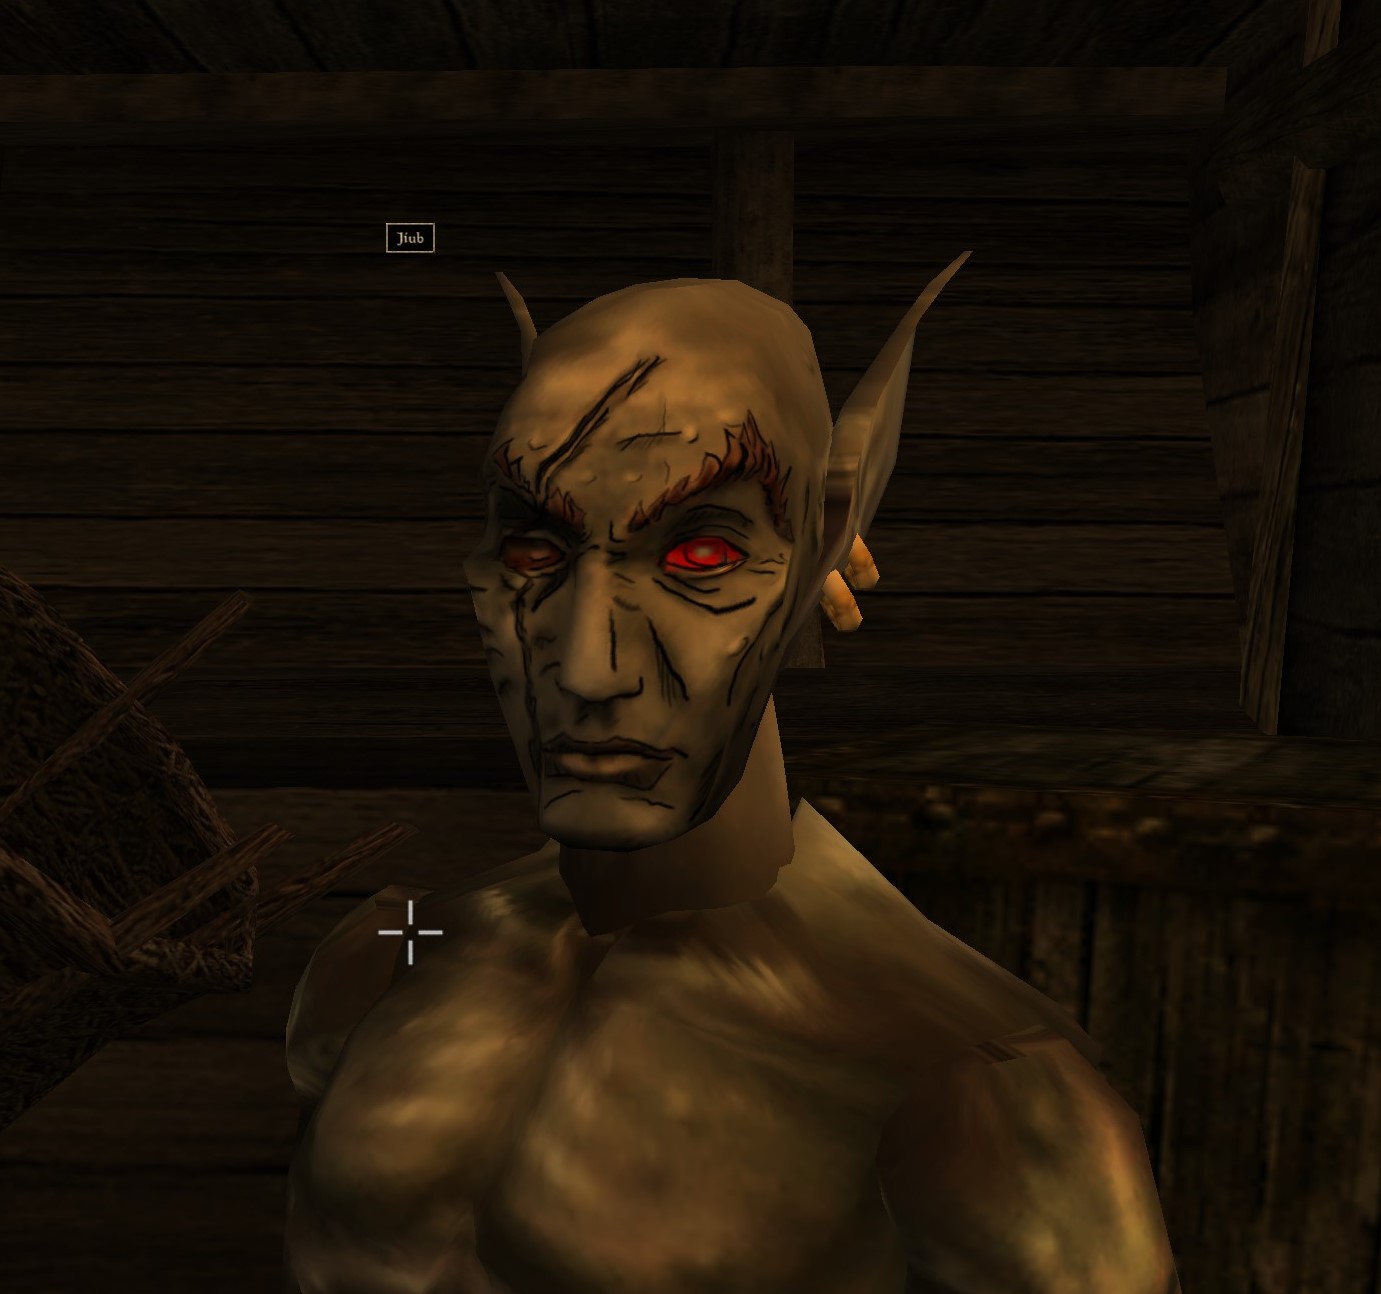
Like the video linked in my last post, I started creating outlines highlighting particular feature areas that stood out for change in shape. My variation on this style leans more to outlining surfaces with changes in height but not color fluctuations (e.g. later on when I get to tattoos, I likely won’t outline the tattoo.) I looked for distinctive wrinkles and natural feature as well as abrupt marks like the scar.
As you can see in Jiub 1.0, I failed to refine the lines after I finished outlining. I didn’t use shape dynamics or taper and thin out the lines. Crosshatching was also minimal.
Check
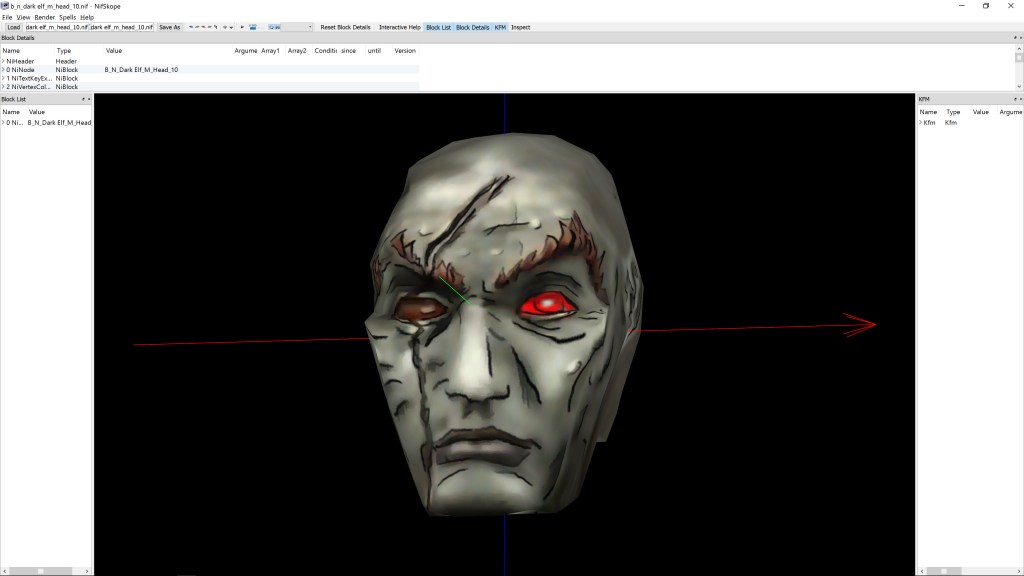
I used a program called NifSkope that lets you see meshes rendered with textures and animation if applicable. It was there that I saw how odd the texture stretched due to the 3d model’s crude animation and UV texture mapping. The eyes looked really weird as the mesh just stretched down a single point to mimic blinking but the texture stretched the area above the eye down with it. The mouth opened up very much like the canadians in South Park. Because of that, I had to go back and adjust the lines to minimize the line bleeding when the textures stretched. You can also see where the original texture has errors such as the red eye’s inner lower corner bleeding onto the eyelid.
Tweak
Because this is a more cartoon-like look, I experimented with using an unsharpen filter on the working copy of the original image to exaggerate the colors and then a smart blur to blend the blemishes away some. Additionally, I added shadows and highlights by drawing on a new layer black and white respectively at 50% opacity and then blurring it to look like light smudging.
Next time, I show the other, more refined textures I completed AND Jiub 2.0.
– Martin

Leave a comment