Tag: Arena

  • Rolling a critical failure

    Windows to the soul

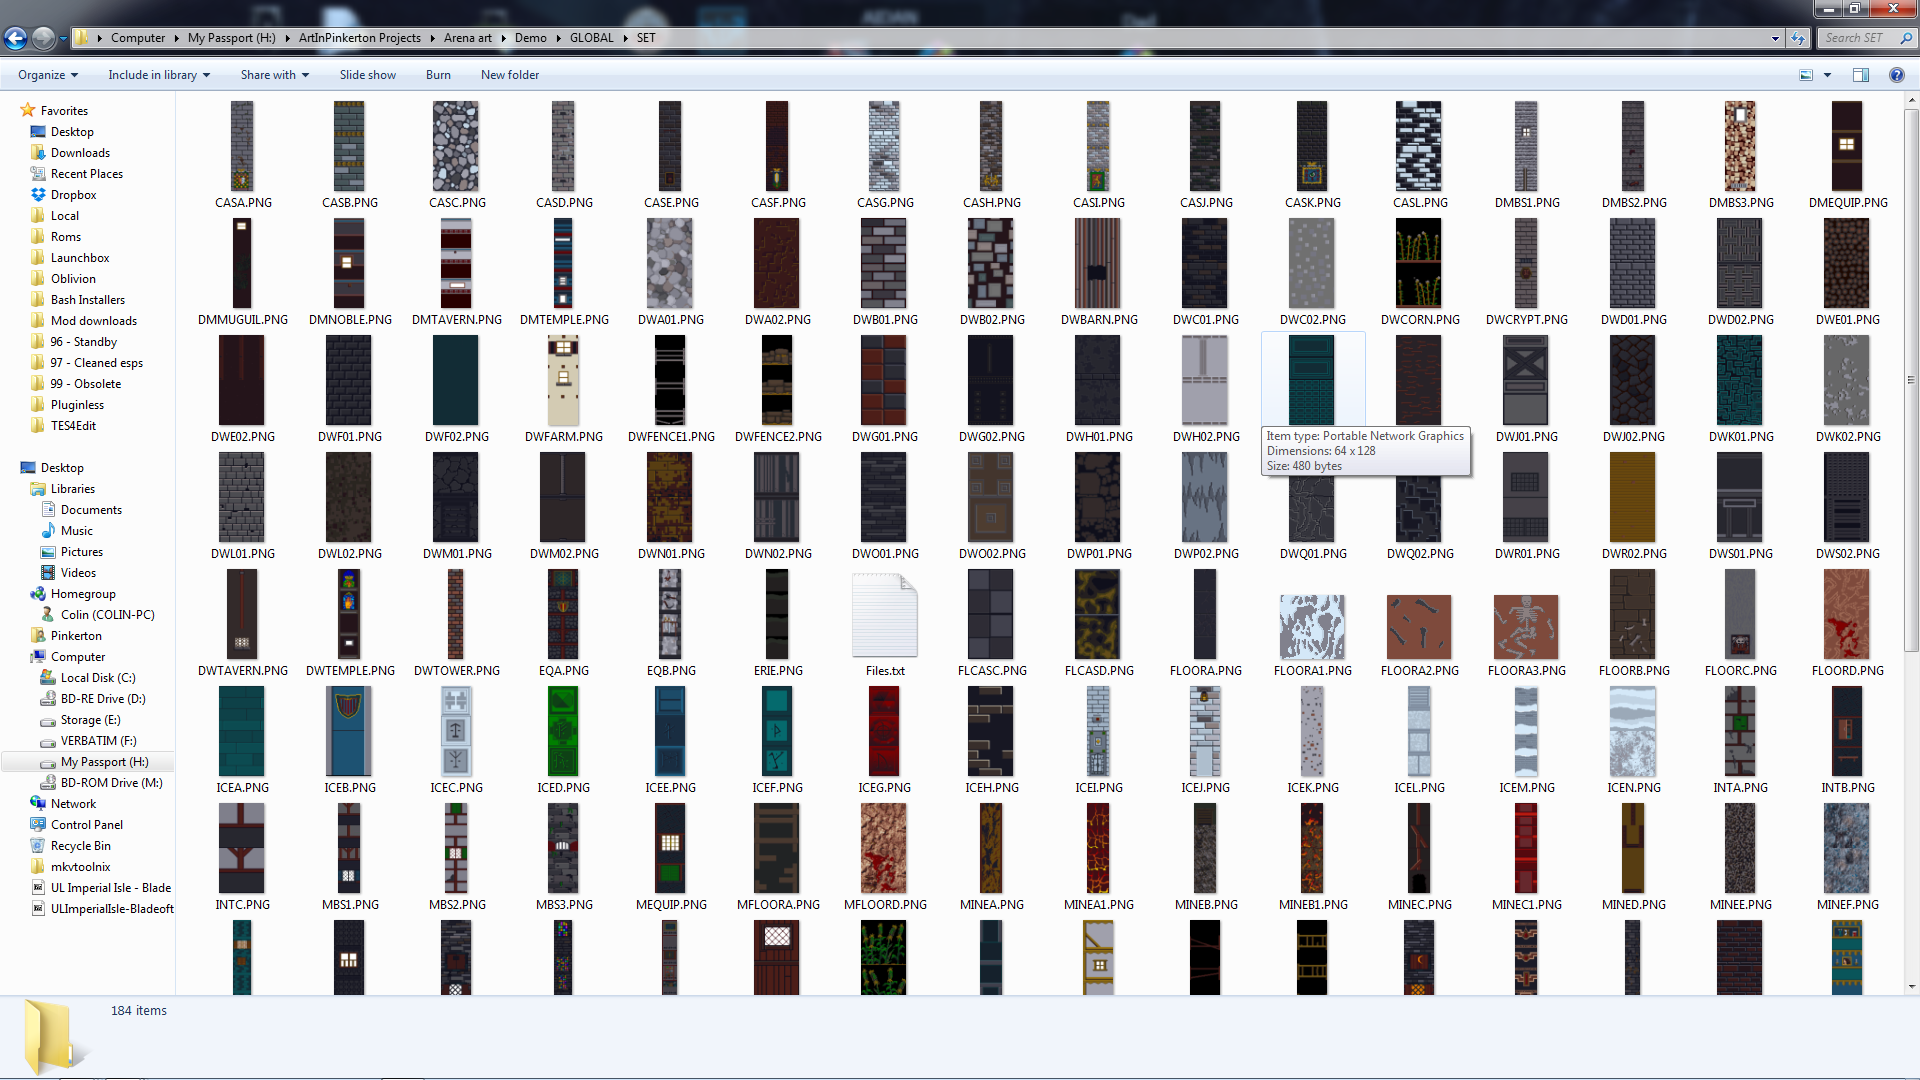
    Recently while playing around with “vanilla” (unaltered) Arena, I noticed that the windows turn on an off for day and night. I believe this is based on the window color being pure white. In quite a few of the SET files, I had made the windows yellow breaking the on/off effect. It’s an easy fix though.

    Revised city wall and road
    The most exciting screenshot EVER!


    Borked Windows

    Caveat: I’m a hopeless tech nerd.

    I like trying out software and technology. Things like text-to-speech, software debugging, emulators, etc. are like candy to me. Why is this on an art blog….err i mean…collegiate journal? Because sometimes I mess stuff up. This time I was trying to get a Windows XP/7 program that doesn’t like Windows 10 to install on my computer. In doing so, I borked my login so that it wouldn’t accept my password. From that point started a chain of events (all my own doing) to fix it that made the situation worse and worse. Finally, I couldn’t even boot my machine. Seriously, I’m pretty good with tech but on this day I rolled a “1”.

    Long story short, I recently had to wipe my boot drive (no important files were on there but the OS) and install a clean Windows 10. I tried to cold turkey eliminate using GIMP since I already have Photoshop. That didn’t work too well. Photoshop is different enough that some very common things I was used to doing all the time in GIMP didn’t work. I’ll probably start watching some intro videos to see how Photoshop works before I try that again.

    All in all, not my proudest tech week (or two).

    MIF

    I did some research into the MAP files for Arena. However, I want to compile it in a cohesive manner so that post will wait till I feel it is ready enough. My hope is that the information that I have uncovered might help others if they decide to “crack” the format.

    Martin

  • Doors and Floors


    Get it together man

    Now that I have finished the “walls and halls”, it’s time to renovate the doors and remaining floors. I have finished almost all the ground textures though (well a few could used tweaked too). In the past, I just worked directly in the directory where I extracted the files and reinserted them into the BSA from there. However since there are so many IMG files (949 to be exact) and that isn’t the cleanest way to work from a project management perspective, I pulled all the door files out to a separate folder/workspace and created a completed folder to use for importing files back to the BSA.

    Tavern with old door art
    Must have ran out of paint

    Doors, Doors, Everywhere there are Doors

    There are 112 door files not including non-doors that would serve as potential transition points (e.g. ladder up/down, stairs, etc..there are about 12 of those). These IMG files come in two variety, framed and whole texture.

    I’ve been framed

    The framed doors are “framed” with the texture of the building to which they belong (e.g. the Mage Guild door has a frame art that matches the building).  To do these, I’ll just copy and paste a wall from the matching set file and layer it under the door so it’ll be a perfect fit with the rest of the building. All exteriors and some interior doors are framed doors, pretty much any door that transitions between outside and inside.


    That’s no small wall…it’s a door!

    The other type of door is the whole texture door. I have done a few of these previously as you can see in the screenshot. These doors belong to all the interior rooms and are the ones that swing open so you can enter a room. Although they are relatively simple (as they repeat the same textures over and over for different files), I’m hoping to add a little more variety to them.


    First things first though, I will test to see if each IMG file is used in game (i’ll probably do them in batches). I have already found several that aren’t. I will likely still redo them just in case. Worst case scenario, if I ever can get anyone to figure out how to decipher the MTF files, I will use them to make new dungeons and buildings.

    – Martin

    ,

  • Overdue request but the Mailman is IN

    Introfix

    After much wait and anticipation (more like I completely forgot to release it), TES Arena IntroFix is complete and can be downloaded here:

    http://www.nexusmods.com/tesarena/mods/4/?

    In this mod, I fixed three slides from the intro when you select new game.

    3-Card monte

    I had completed these some time ago but forgot to release them. Unfortunately, my file managment has been less than stellar and it took awhile to find them again. When I did, I noticed that there were still a couple of errors that needed fixing. So I fixed them and now no one need ever suffer under Uriel Septim IV’s oppressive need to steal the limelight from his great grandson.

    Uriel is an odd family name

    INTRO01t
    Uriel Septim VII is rightfully restored.

    Once I had the textures in PNG format (a common image format), fixing the slides was a matter of several well placed cut and pasting.

    However, getting them to a PNG format was more of a challenge. I had to use Arena Toolbox by Dysperia. That tool is a fantastic counterpart to ArenaModdingSuite. One of it’s unique functions is that it can convert the compressed images into PNG. Before this tool, no one knew how to uncompress those images (there are quite a few).

    One hidden feature of the program is that it allows you to import the palette file (where it determines color) into the image itself versus being external to the file in the root directory. To make it work though, you have to trick the program into thinking it’s a new image. Simply adding a letter in the filename sufficed. The Toolbox can also convert back to the native IMG file.

    Last thing left was to test it. I dropped my 3 new IMG Intro slides into the root folder of Arena, booted it up, and IT WORKED. Awesome. Sometimes it’s the little wins that keep you going 😉

    • Martin


  • Is that 80’s fashion?

    The straight and narrow

    Some days I can blaze through images getting 5 or 6 done in a sitting, then other days just part of an image can take a couple days. When it comes to the Arena Depixelization Project (ADP), the easier ones are just patterns (especially ones with straight lines horizontal or vertical). The low pixel count doesn’t really muck up the design too much since there is no need for a “fine detailed” line in those cases.

    It kind of looks like….

    However, once lines start curving or the image becomes complex, the time required is increased, sometimes dramatically. It’s hard to get non-angular shapes to look good when you only have a 64×64 grid to work with. I find that it takes multiple revisions to get it looking just right. To make matters worse, the source material for ADP contains many pictures that are either so pixelated as to be barely discernible or they generally don’t look very good as you clean them up (such as dress thing for the “angel” in this picture).

    WALLA Untouched
    Click to enlarge


    Close enough for horseshoes and hand grenades

    In that image, I had to make some artistic decisions on how “accurate” to the source material I would be. The image is generally too complex to leave unaltered for my “Depixelization” theme. At first, I didn’t even know how to tackle it. I completed all the background wall first and left the “Angel” and the “alcove” till last. The good thing about that is that it let me establish the colors for the image. Eventually, I had to do this one as I only have a few SET files left. I decided to break it up and focus on individual pieces of the angel. I really wished I had made a timelapse of this one to show how much back and forth I did on it.

    Mr. Potato Head

    I started with the more clearly defined shapes, to include the arms, head, and the key. Those came into place with minimal fuss. Then, I tackled the wings. It took me awhile as the initial version (closer to the source) just didn’t look very good. After a couple of iterations, I ultimately decide to make the wings bigger as if they were more full body sized. Next, I attempted to do the feet. However, they just did not look good, especially when I started working on the weird “billowed” dress/robe. I decided to put the feet off and do the clothing. I touched up the sleeves to improve the “hanging off the arms” appearance. I made my first rendition of the lower part of the robe very close the source version. However, it looked terrible because the source version is kind of ridiculous looking, as if someone tucked an oversized shirt into a skirt.  I played with it a little before I decided to just alter the design. I revised it to look more like a regular robe. Unfortunately, the feet still looked awkward, so I removed them and lengthened and curved the robe as if they were hidden by it and it was floating.

    – Martin

    ADP WallA
    Click to enlarge


  • Dude, where’s my post

    Slight pause

    Due to a fairly high RL tempo at the moment, I haven’t been able to work on ADP for a little while. I foresee having a little more time by the 2nd week of December. I don’t care for extended delays (well more than a month) so as soon as I can, I’ll be back at it. I’m eager to finish ADP and start my next (on hold) project.

    Who told them?

    I created this website so I can chronicle all my artistic  (and design) endeavors, not just game related stuff. However, I haven’t been highlighting my other artwork. I get asked occasionally by friends to create images now and then.  In that vein, I am going to create a general art section and will similarly list my thought processes and/or techniques behind how I created each image. Additionally, I want to do a retro section of old (some pretty juvenile) artwork from my younger years.

    Up to bat

    I have two non-game related projects in the works right now: an logo and an emblem. The prototype of the logo is below but I only have the concept for the emblem mapped out right now. I’ll detail my work on the logo below soon.

    – Martin

    tigerworking1

  • Time-traveling Emperor?

    On Demand
    Per request, I made a fixed text version of the intro in the original style of the game. I just have to convert it and then I’ll post a link to download it. Of course, ADP will feature the corrected version in the new style also. All I needed to do was a little cut and pasting in GIMP to move the “V” left. Then I copied the “I” and pasted it twice. Voila.
    – Martin

    No more time-traveling great grand-parents
    No more time-traveling great grand-parents
  • The start of the gold rush….

    The tool that saved the  Arena Depixelization Project (ADP)

    Last post, I covered the Arena Font Editor, 1 of 3 tools that I use to edit TES:Arena graphics (and fonts). The font editor is part of the Arena Modding Suite by Hallfiry. The other part of that suite is the 2nd (set) of the three tools I’m going to write about.

    Prior to the Arena Modding Suite, I used the method detailed in a previous post that was laborious and unpractical. Fortunately, this thread popped up on the Bethesda forums. And instantly my little “experiment” became a project and grew in scope. Were it not for Hallfiry, I would have surely abandoned it ADP before it every took off.

    What’s it do?

    The main functions of the Arena Modding Suite come in the form of the ArenaPacker and ArenaUnpacker. Rather than being a program that you work in, they are utilities that enable you to easily manipulate the game assets directly in Windows. Both programs directly work with the GLOBAL.BSA. Appropriately enough, one unpacks the entire BSA into a set of folders and the other takes that set of folders and packs it right back up although that is a bit simplistic view of what they do.

    This slideshow requires JavaScript.


    In reality, the programs not only work with the files but they also convert the files to the appropriate format. For ArenaUnpacker, when it extracts the files, it converts the non-standard IMG and SET files into easily edited PNG images. Additionally, it converts the INF files (map asset listings) to a text editor friendly format and SND files to WAVs (although I don’t have any interest in that part). ArenaPacker reverses the process and creates a packed GLOBAL.BSA based on files in the unpacked directory but doesn’t alter those files that were already extracted. This means I can have a working directory of all the files and my changes then “pack” my work-in-progress easily at any time to test in game.


    All work is done from Windows
    All work is done from Windows


    Some notes about the Arena Modding Suite:

    1. Quite a few of the images are compressed in a bizarro compression routine used by Bethesda and this software doesn’t have the functionality to uncompress them. No one had cracked that compression in all the years since the game was released (that is until very recently but more on that next time).

    2. ArenaPacker is designed to compensate for using colors outside those available in palette file by converting non-palette colors to the nearest equivalent color in the palette. While it’s a handy feature, the images should be checked in game to make sure the colors aren’t changed to something wonky (as happened before I learned to use the palette tool in GIMP. If you stick to the exact palette (either by using a palette file or be just using colors in the actual images being edited), this isn’t a problem.

    3. ArenaPacker is a little sensitive to what files are being repacked. When files are extracted, ArenaUnpacker creates a file list of all the files in each directory. This file list is used for when the files are repacked by ArenaPacker. So, if a file is missing or added that isn’t on the file listing, it will crash the program. So if I plan on “trimming” out the IMG/SET files not actually used, I’ll have to edit the file listing. However, it is very easy to fix so this isn’t that big of a deal.

    – Martin

  • Alphabet Soup in Tamriel

    Letters from long ago

    After the recent work on the user interface, I decided to take a hack at changing the fonts. Arena fonts are stored as DAT files (the file extension that a lot of the text tables use). There are 9 separate font files and the game using them each in the game in different places (I.E. the character stat numbers are different than the travel menu summary). However, some of the text in the game isn’t from a font at all but part of a texture or image already premade (e.g. in the spell book, only the spell specifics is actually a font and not part of the image).

    Spellbook
    Only the spell specifics are a font

    Click the font away

    Thanks to Hallfiry’s Arena Modding Suite, I had the tools necessary. Hallfiry’s suite includes a separate program for editing fonts, called the Arena Font Editor. While the program isn’t the most elegant design, it does allow for editing of fonts in a fairly simple manner. The font editor allows for simple pixel checking and unchecking. Blocks checked will show and blocks unchecked wont. The size of each font letter can be set separately and while that size can be changed with the slider in the upper right corner of the editor, it should be noted that the game itself may not look good if the font size is too big.

    Hallfiry's Arena Modding Suite
    Hallfiry’s Arena Modding Suite

    Hacking away

    At first I didn’t understand how to use the editor. It turns out that in order to edit a font, the DAT file needs to be dragged and dropped onto the Font Editor. Additionally, there was no clear explanation on what the slider did. I eventually learned that it allowed resizing of each individual character in the font file (e.g. changing it from 5×5 to 6×6). I had already completed half of the font files when I discovered it’s purpose. The slide proves handy so that you can control the spacing between letters. In other words, you can have it one extra space wide so that the letters don’t touch. I did notice that not all letters were properly aligned to the left side of the box.

    Pop-up text
    Pop-up text

    Testbed

    I have somehow broke one of the fonts (my guess is that it’s out of range of what the engine can handle or maybe it just got corrupted). I have been using the same copy of Arena for a testbed since I started this project back before there were any  tools or this website. There are errant files and folders all over the place in the Arena directory (too include early BSA upackers, WinArena, and other crud). With this latest erratic behavior, I have decided to spend the grueling 5 minutes to download and install a clean copy. This way my efforts will match the end-user’s experience more accurately. Then it’ll be time for the second run through on the fonts to tweak the letters (and fix the broken font file).

    – Martin

    This slideshow requires JavaScript.


  • Polka dot shirts with checkered pants

    Interface

    One item that bothered me was that the interface elements didn’t really match. It seemed as each screen had it’s own style, particularly when you compare the “esc” menu and the inventory. Once I knew I could edit the inventory backgrounds, I wanted to make it match the other screens. However, I discovered that they use different palettes and I couldn’t find the right color that was on both palettes.

    Inventory screen (original)
    Inventory screen (original)
    ESC menu (original)
    ESC menu (original)

    Compromise

    I ultimately had to settle on as close as a match as I could get. Additionally, I tried to port over a few of the stylistic elements of the ESC menu into the other GUI elements to tie them together better.

    – Martin

    Dark green is as good as it gets
    Dark green is as good as it gets
    I used an alternate (unused inventory graphic) and tweaked it to add a little more character
    I used an alternate (unused inventory graphic) and tweaked it to add a little more character
    ESC menu (redone)
    ESC menu (redone)


  • Sometimes it’s easier to walk around then straight through

    Compressed

    Quite of few TES:Arena IMG files are compressed in a crazy-wack-funky format that only the executable can decipher. No one has successfully found a way to decompress them. I had, quite a long time back, experimented with trying to replace them with uncompressed images but didn’t succeed.

    Character screen
    EXAMPLE: The character screen is two parts: stats on the left and character image/provincial background on the right. Each section is it’s own IMG file that is unfortunately undeciphered as of yet.

    The “method”

    I picked the “QUOTE.IMG” texture to edit because it was quick to find in-game and had clearly defined dimensions (full screen at 320×200). I loaded Arena in DOSBOX and waited for the quote to load (it’s the second screen after loading). Then I took a screenshot and since DOSBOX already uses native resolution, I didn’t need to alter the image. However, when I replaced the “compressed” version with the new one, it didn’t show up in game (it stayed black until the next screen loaded).

    The screenshot version of the Quote image
    The screenshot version of the Quote image

    Wait there’s more

    However today, Hallfiry (the maker of the Arena mod suite I use) revealed to me that it was indeed possible to do what I had attempted. Reinvigorated, I retried my previous method and almost instantly found a flaw in my method involving his program. Basically, his program translates uncompressed image files from Bethesda’s non-standard image format to PNG files for easy editing. When it does the conversions it creates two additional files, .MET and .PAL, containing color and format information to be used when reconverting back to the original format (repacking the archive). I failed to accountfor his program needing these files to successfully convert back the image. So this time I copied a .MET and .PAL from a similar “uncompressed” fullscreen image and renamed them both to match the “QUOTE” image.

    Victory

    This time it worked although it looked normal because I hadn’t edited it’s appearance. What this means is that all full screen IMG files could easy be redone using the “improved” method above. However, I wondered about partial full screen images such as the character screen.  Using DOSBOX debug, I quickly found that the character screen images and made a screenshot. NOTE: Dos debug shows what images are loaded so I also knew which image to replace. The character screen is composed of two images. On the left is the blue-ish stat background and the right is the province background with the character image overlaid on it. I chose the stat background due to simplicity. Using the method above, I only had to add one step. Knowing that the CHARSTAT.IMG covered only a portion of the image, I had to crop the DOSBOX screenshot to just encompass that side. I did some messy edits to test a few things and the results are below…

    Now I can replace fullscreen graphics
    Now I can replace fullscreen graphics

    c

    NOTE: I confirmed my suspicions that not only were the DONE and NEXT PAGE buttons were just part of the background, but the stat names and other misc “yellow” text was too.

    Basically, this means I’m one step closer to a complete retexture. Fullscreen and partial fullscreen graphics are now replaceable to include: the title screen, the quote, all the image scrolls (yes this includes the text and I CAN fix the Uriel Septim typo), character sheets and backgrounds and what ever else is full screen. The only one I’m not sure about is the MAP. I’ll save that experiment for another day.

    – Martin