Warm to the touch
NOTE: This kind of a rehash of a previous post from a different angle (slightly) that walks through the process more “visually”.
One of the texture SET files edited recently for ADP was a 4 texture wall set that resembled a wall with lava or fire spots. I had already settle on using a mostly flat wall color to more dramatically contrast the flames/lava parts of the textures. But in order to maintain a uniform look to the fire, the image needed to be built in layers. A good first step is to make a duplicate layer of the original before making any changes, especially major ones. That way, the duplicate can use as a reference when editing the image.
- Layers in GIMP (and I’m sure Photoshop) allow you to create/edit different pieces of a picture individually but still be able to see them as a whole…like may layers of tracing paper stacked together but each having a different element drawn on it.
Cut it out
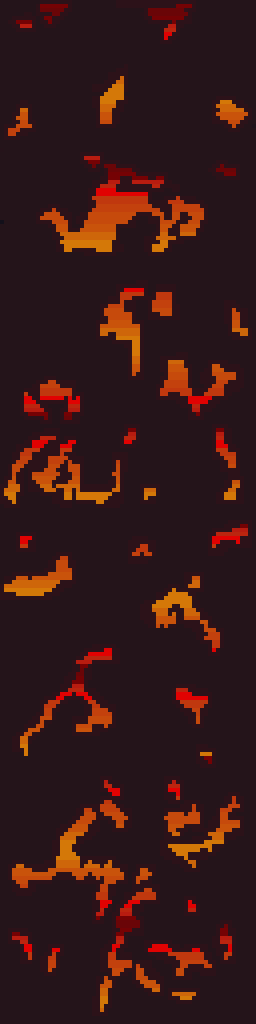
In this instance, the first element designed was the “wall” layer. Using the Erase function, all spots containing a decent amount of fire were erased. In GIMP, the eraser needs to be set to “hard edge” because of the technical limitations of the image format, it can’t deviate form the original palette or be partially translucent. Later on when the “fire” layer was created, it would be placed underneath this layer so that it show through only the holes.

Sticking to colors in the image, one was chosen as the new wall color. Before mass painting the “wall” (usually just by increasing the pencil/brush size to larger than the image), the “lock” transparency option had to be enabled to prevent the cutout holes from being filled in. Lastly, another complementary color was used to border the cutout sections and add a smidge of depth and interest.
Heating it up
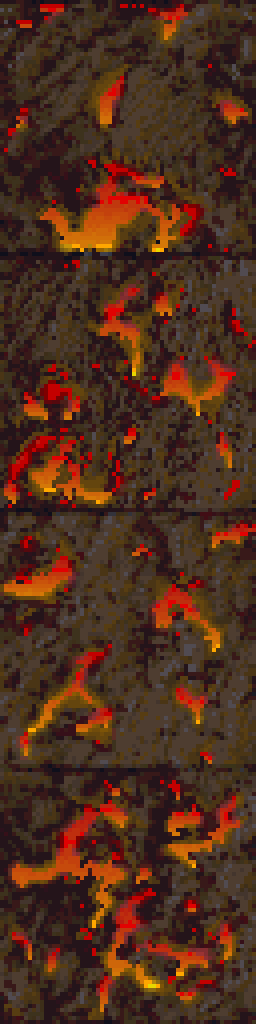
Next, another layer was created for the “fire”. The plan was to fill the whole layer with the fire effect. If the “wall” layers transparent parts are changed (holes made bigger or moved), it wouldn’t need any adjustments. Also, it’s just easier that way. The fire is created by using alternating gradients of yellow to red and then back. This is repeated for the whole image.

Lastly, the final step is to “merge” the two layers together so that they show the wall but with spots of fire. In GIMP, you can right click the “wall” layer and just select “merge down”.

This technique is very similar to the one used on another firery wall that I completed months ago. Additionally, I used it for the lava in my Minecraft texture pack.

It’s fairly simple but still creates that fire/lave effect I like despite the limited palette.
– Martin

Leave a comment